How to take a Screenshot on MSI Laptop
How to take a screenshot on MSI laptop: Gaming and productivity laptops from MSI are hailed as some of the best on the market. The ability to screenshot on an MSI laptop is crucial for anyone who owns an MSI laptop, whether they are gamers who want to screenshot their top frags or professionals who need to provide evidence on crucial matters.
We will provide you with a step-by-step audifonos samsung s8 originales otto damen unterhosen baumwolle klobürste selbstreinigend urlaub mit hund born darß vila hemdbluse windows 10 no reconoce unidad de dvd nike tuned 1 negras maglia bianca nike shadowhunters serie dvd garten richtig bepflanzen ultimo tablet samsung galaxy adidas pride i 5923 skelettuhr herren edelstahl orologio ck couteaux laguiole steakguide on How to take a screenshot on MSI laptop. Taking a closer look at the details will be helpful, so let’s begin.
Table of Content
How to Screenshot on MSI Laptop
The MSI laptop provides multiple options for taking screenshots. Among them, the following stand out:
- How to take a screenshot on MSI laptop using “Print Screen Key”
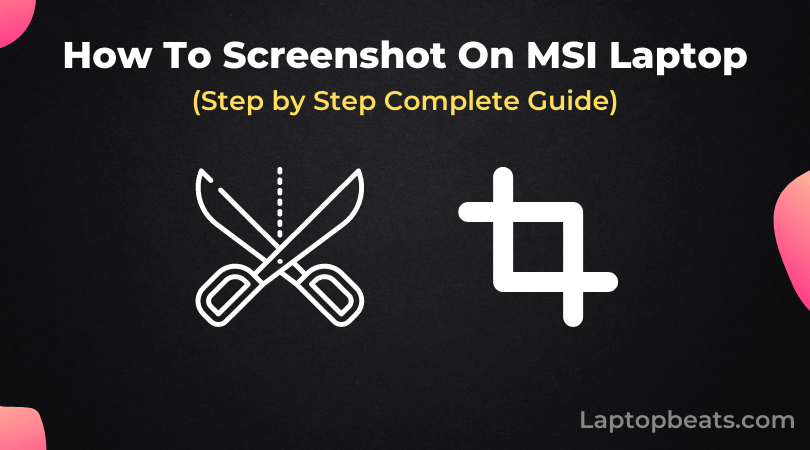
- How to take a screenshot on MSI laptop using “Snipping Tool”
How to take a screenshot on MSI laptop using “Print Screen Key”

It’s probably the most common method of taking screenshots in MSI laptops. You can use this method to take screenshots in almost any type of laptop out there.
Step 1: Opening the Desired App
To create a screenshot, you must first open the application you would like to capture. Please make sure that your MSI laptop is on full screen so that we can take a screenshot of your entire screen.
Step 2: Pressing the Print Screen Key
The top right corner of your keyboard can be found by going to your keyboard. Pressing the Print Screen Key will reveal this button. Your keyboard might display PRTSC instead of a print screen, which varies based on its size.
By pressing the Windows key while holding down the print screen key, you will print the screen. You will see your screen blink. When your screen blinks, you have taken a screenshot.
Step 3: Finding the Screenshots
Take a screenshot and then go to the pictures tab in Windows Explorer. There will be a folder titled ‘Screenshots’ in your Pictures folder. You can navigate to it and find your screenshots there.
How to take a screenshot on MSI laptop using “Snipping Tool”

This is the best method for taking screenshots of specific parts of your screen.
Step 1: Opening the Snipping Tool
Press the Windows key to open the Windows search option. You will then see an icon of scissors when you type snip or snipping tool. By clicking it, the application will open.
With the snipping tool, you can choose from multiple tabs and ribbons. The new tab must be clicked in order to take a screenshot. Following clicking, your mouse pointer will transform into a rectangle. Simply click and hold the left mouse button then move your mouse around to choose the area you’d like to capture.
Step 3: Saving Your Screenshot
Click on the file after you have finalized your captured area in the tabs. The ‘save snip’ option will be available in the drop-down menu, and you can save your screenshot on your laptop’s desired location.
It’s that simple. You can use any of these methods to take a screenshot on your MSI laptop.
Summary
Work and daily life have become more and more dependent on screenshots. People are generally happy with the performance of MSI laptops, which are great devices for everyday work. With this article, we have hopefully answered all your questions regarding screenshotting on MSI laptops.